In today’s blog, we’ll embark on an exciting journey to create a visually stunning pouch packaging design. Follow along as we break down the process step by step, offering valuable insights and tips to elevate your design skills.
Setting Up the Page for Packaging Design
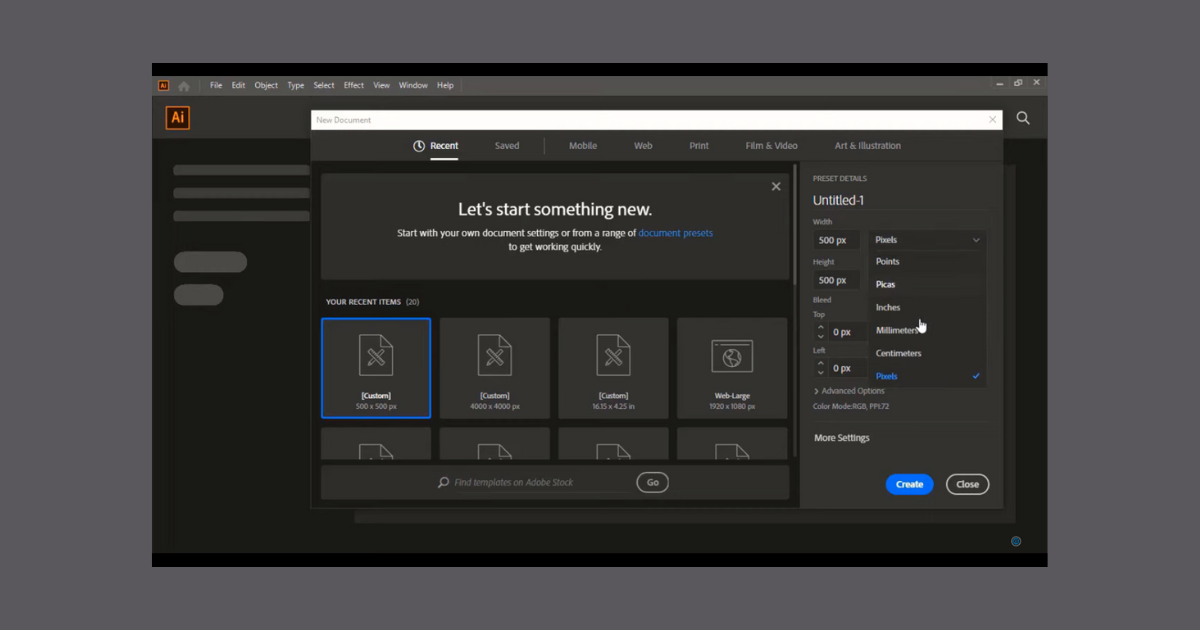
Begin by navigating to the “File” menu and adjusting the unit to centimeters. Configure the page size to accommodate both the front and back designs. Opt for a resolution of 300 DPI for high-quality printing.

Establishing a Safe Zone
Ensure your design stays within a safe zone by subtracting 0.4 cm from both the width and height. This precautionary measure guarantees that essential design elements won’t get cut off during the printing process.
Designing the Front and Back
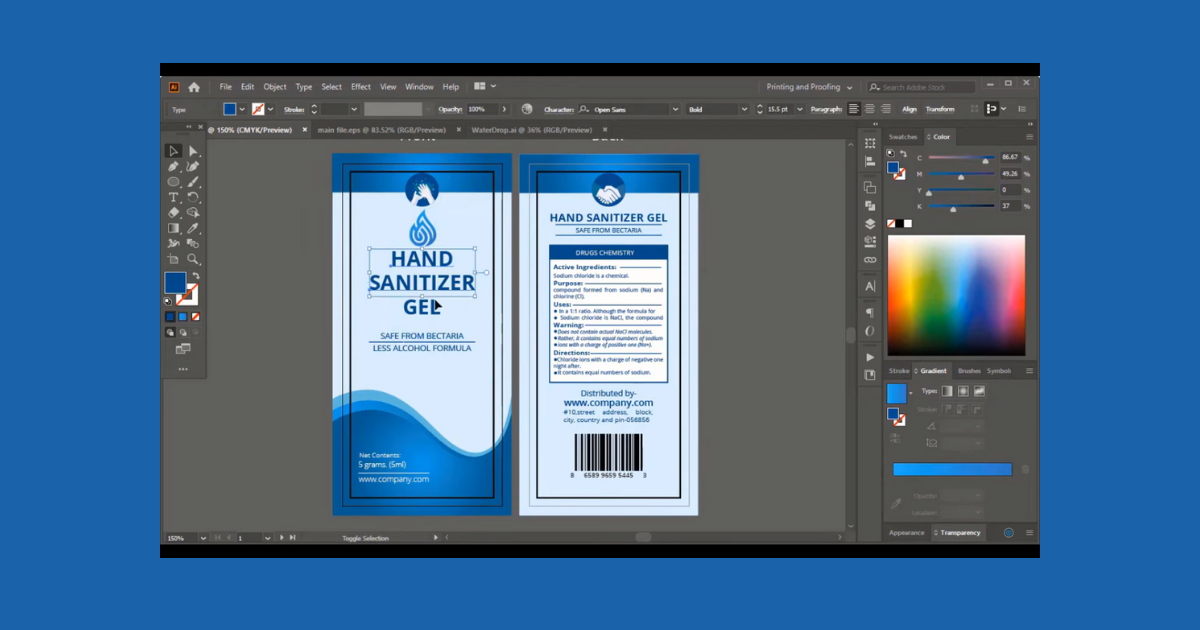
Utilize the toolbar to add shapes and lines to both the front and back of the pouch. Pay attention to smooth curves and use a smoothing tool if needed for a polished finish.
Incorporating Text and Details
Introduce essential product and company information using the text tool. Experiment with font styles, sizes, and colors to strike the right balance between aesthetics and readability. Clearly articulate details about the product and its composition.
Adding Icons and Graphics
Enhance your design by incorporating relevant icons and graphics. Websites like Element offer a plethora of downloadable design elements. Ensure these elements align with your brand and product theme.
Including Barcodes and Logos
For authenticity, incorporate barcodes using specialized tools. Download high-quality logos from platforms like Advertisement, ensuring proper licensing. Strategically place these elements within the design.
Applying Gradient Colors
Introduce gradient colors to specific design elements to add depth and visual appeal. Experiment with color combinations and angles for a cohesive and attractive look.
Saving and Exporting Designs
Save each artboard individually and export them for web use. Maintain an organized file structure for seamless workflow and easy retrieval.

Integrating the Design into Mockup Templates
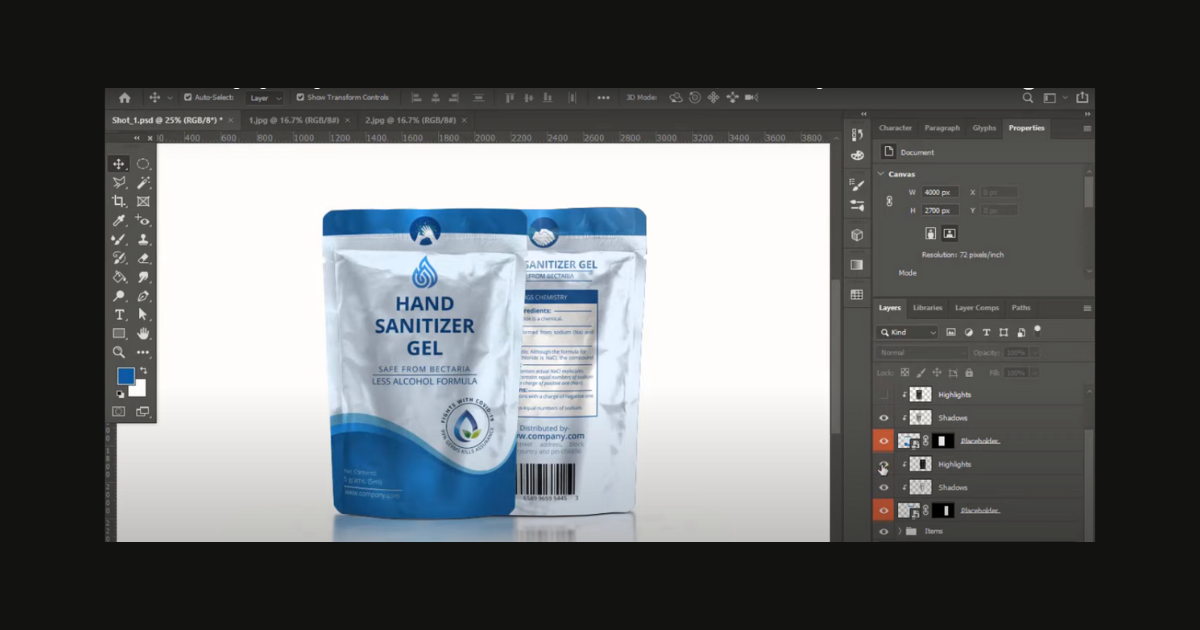
Enhance your design presentation by incorporating it into realistic mockup templates. Premium mockups are available on platforms like Element. Download, open in Photoshop, and seamlessly integrate your design for a professional 3D representation.
Finalizing and Impressing Your Clients
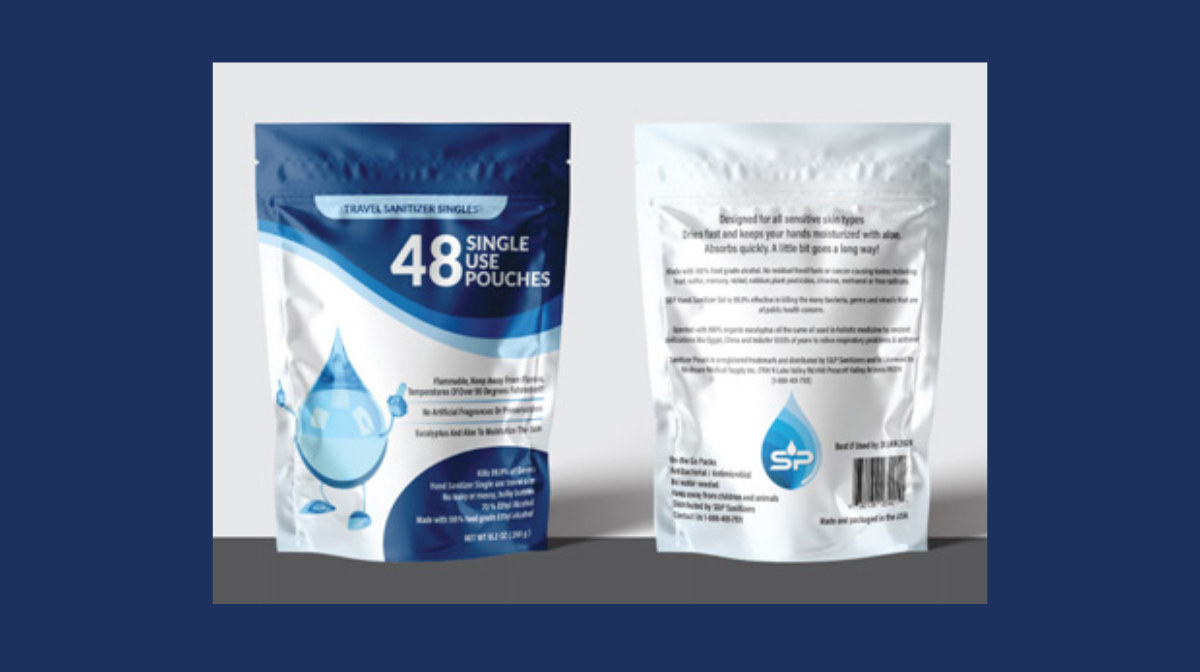
Review the final mockups, ensuring a cohesive and visually appealing presentation. Impress your clients with a realistic preview of the pouch packaging, showcasing meticulous details and design elements.
By following these steps, you’ll master the art of creating captivating pouch packaging designs. Let your creativity shine through, and leave a lasting impression on your clients. Feel free to check out the website link provided in the description for additional design elements. Happy designing!

Frequently Asked Questions (FAQs)
What elements should be prioritized in pouch design?
Focus on product visibility, brand logo, and vibrant colors. Clearly convey product information and create a visually appealing layout.
How can I ensure my pouch design stands out on the shelf?
Use unique shapes, bold typography, and distinctive color schemes. Conduct market research to understand competitor designs and find a unique angle.
What file format is ideal for submitting a pouch design to a printer?
Submit high-resolution files in formats like PDF, AI, or PSD. Ensure all images and fonts are embedded to maintain quality during printing.
Are there any regulatory considerations for pouch design, especially for food products?
Yes, adhere to food packaging regulations. Include essential information like ingredients, nutritional facts, and contact details in compliance with local laws.
Related Articles:


