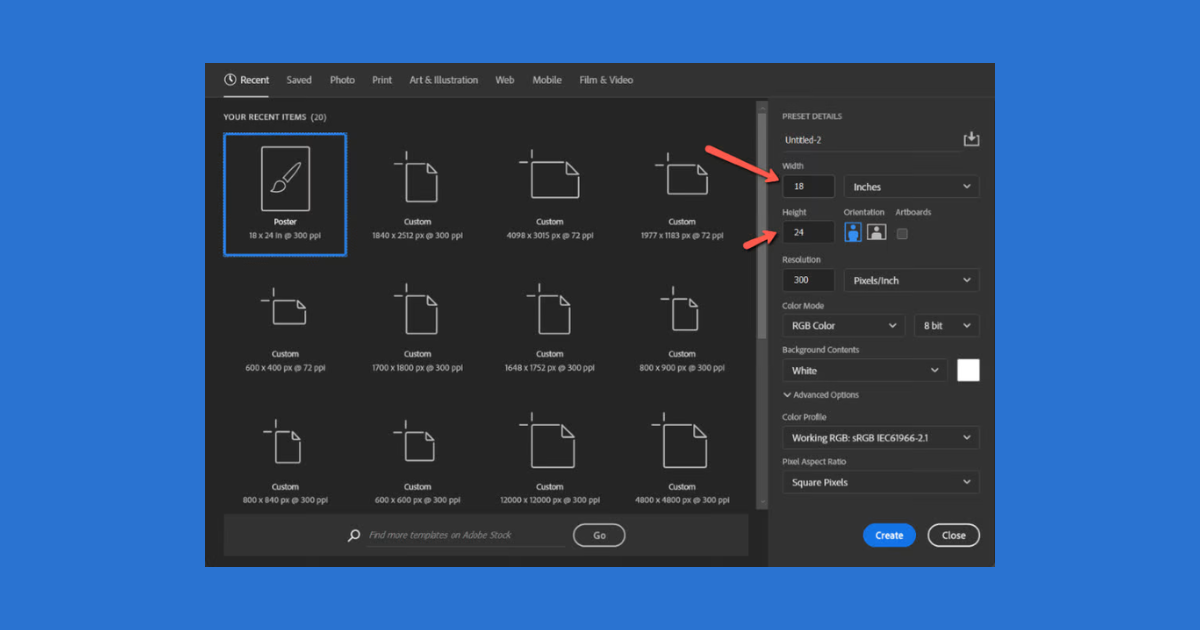
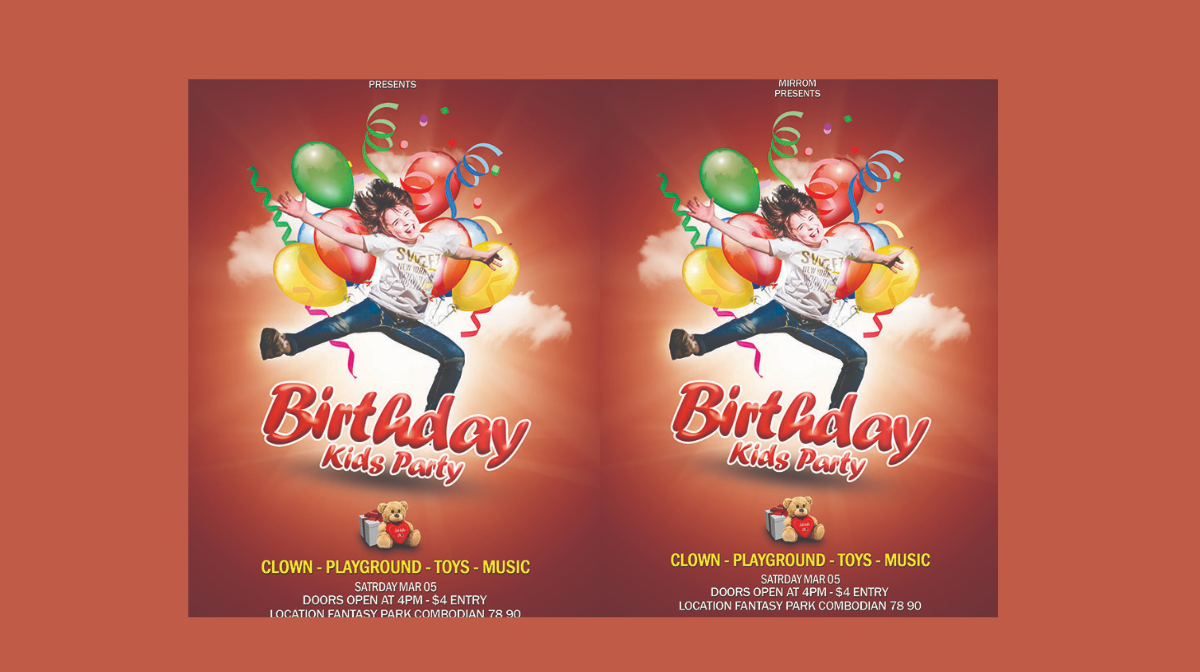
Hey there, creative souls! Today, I’m excited to guide you through the steps to craft a fantastic birthday poster design using Photoshop. This tutorial will help you unleash your artistic flair and create a memorable piece for that special someone’s celebration. So, let’s dive right in!
Setting the Stage with Text
Start by selecting the Text Tool in Photoshop. Utilize the recommended font provided in the description (with the download link). Click to change the text color, and after typing, press Control A (Command A for Mac) to select the text. Center the number using the alignment icons, and then press Control G (Command D to deselect). For a finishing touch, right-click and choose Blending Options, select Inner Shadow, and adjust the settings to your liking.

Incorporating the Image
Now, drag and drop the desired image into the main document. To ensure flexibility, convert the image to a smart object by right-clicking on it. Press Control T to resize and reposition the image as needed. Create a clipping mask by right-clicking and selecting “Create Clipping Mask.”
Adding a Touch of Drama
Using the Pen Tool, carefully trace the outline of your subject. Right-click and choose “Make Selection.” Click on the mask icon and repeat the process by selecting pixels and inverting the selection. With a brush, refine the edges. Finally, change the blending mode to Multiply and witness the dramatic impact.
Enhancing the Atmosphere
To intensify the overall effect, create a Levels Adjustments layer. Follow the provided settings in the tutorial to fine-tune the contrast and colors, giving your design that extra punch.
Personalizing Birthday Poster with Text
For the finishing touch, add your personalized text to make the design uniquely yours. Let your creativity flow as you choose fonts, colors, and positioning that complement the overall aesthetic.
And there you have it – a captivating birthday poster design that’s sure to leave a lasting impression! This tutorial is designed to empower you with the skills and confidence to create personalized and visually stunning artwork in Photoshop. Now, go ahead, give it a try, and celebrate those special moments with a touch of your artistic magic!
Frequently Asked Questions (FAQs)
What software do I need to follow this tutorial?
This tutorial is tailored for Adobe Photoshop, a versatile and widely used graphic design software. Ensure you have Photoshop installed on your computer to fully engage with the steps and create your birthday poster design.
Where can I find the recommended font for the text in the tutorial?
The suggested font for this tutorial is provided with a download link in the description. Simply click on the link, follow the instructions to download the font, and install it on your computer before starting the tutorial.
Can I use any image for the birthday poster design?
Absolutely! Feel free to choose any image that suits the birthday celebration theme or reflects the personality of the individual you are creating the poster for. The tutorial is designed to be adaptable to various images and occasions.
What if I’m not familiar with the Pen Tool in Photoshop?
No worries! The tutorial briefly mentions the Pen Tool for outlining the subject, but if you’re not familiar with it, you can find numerous online resources and tutorials specifically covering the Pen Tool in Photoshop. Take your time to practice and enhance your skills before attempting this step.
I’m having trouble with the Levels Adjustments. Any tips?
Adjusting levels can be a bit tricky for beginners, but practice makes perfect! If you’re having trouble, double-check that you’ve created a Levels Adjustment layer and ensure you’re applying the settings mentioned in the tutorial. Experimenting with different adjustments will help you understand their impact on the overall look of your design.
Related Articles:


