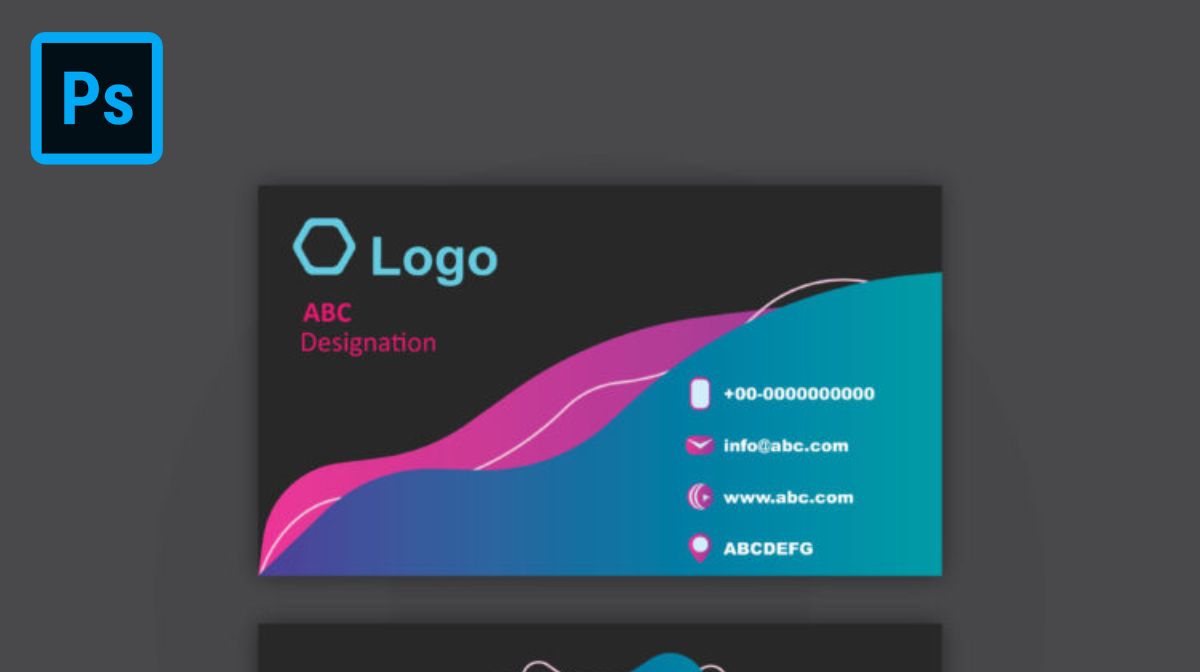
Greetings, design enthusiasts! Welcome back to Graphic Island tutorials. In today’s session, I’m thrilled to guide you through the process of creating a sleek and professional business card. By the end of this tutorial, you’ll be able to achieve a result like the one you see here. So, let’s dive in and get started on this creative journey!
Setting Up the Page
The initial step in creating a business card is to set up the page. Open your preferred design software, and for this tutorial, we’re using Adobe Illustrator. Adjust the unit to inches, choose standard resolution, and opt for the CMYK color mode – the industry standard for printing. Create two pages, one for the front and another for the back of the business card.
Designing the Front of the Business Card
Now, it’s time to get creative! Using the Ellipse Tool, draw a circle while holding the Shift key for a perfect shape. Fill the circle with a color of your choice and place it at the top left corner of the business card. Duplicate the circle using the Alt key, changing colors and opacities for variation.

Continue duplicating and placing circles, creating an appealing pattern. Experiment with sizes, colors, and opacities to achieve a visually interesting layout. Utilize the Alt key for efficient duplication.
Apply gradient colors to some circles for added depth. Double-click on the layer and select your desired gradient color. Repeat this process for various circles, maintaining a cohesive color scheme.
Add text details for the company using the Text Tool. Adjust the color and placement to complement the overall design. Integrate a transparent logo and customize its color to match the theme.
Include additional design elements, such as a barcode or gradient icons, to enhance the visual appeal. Experiment with layer styles, opacities, and colors until you achieve a balanced and professional look.
Designing the Back of the Business Card
Repeat the same process on the back of the business card, ensuring consistency in color schemes and design elements. Customize text details and integrate any additional elements that complement your brand.
Saving and Exporting
Once satisfied with your design, save it using the “Save for Web” option. Ensure high-quality exports to convey professionalism. Save both the front and back designs separately.
Applying the Mockup
Enhance your presentation by using a mockup. Open the mockup file in your design software and replace the placeholder design with your business card. Adjust and fit it within the mockup boundaries for a realistic preview. And there you have it – a professionally designed business card ready to leave a lasting impression. This tutorial has equipped you with the skills to create eye-catching business cards that reflect your brand identity. Feel free to experiment further with colors, shapes, and styles to make your business card uniquely yours. Happy designing!
Frequently Asked Questions (FAQs)
How can I achieve a sleek design for my business card?
Explore tips on minimalist layouts, modern fonts, and color schemes to create a polished and sophisticated look.
What essential information should be included on a professional business card?
Learn about key details like contact information, job title, and company logo to ensure your card effectively communicates your professional identity.
Are there specific design tools for creating a professional business card?
Discover user-friendly design software and online tools that can assist in crafting a visually appealing and well-organized business card.
How can I make my business card stand out without sacrificing professionalism?
Explore creative elements such as unique shapes, textured finishes, or embossed details to add flair while maintaining a professional and memorable impression.
Related Articles:
The Art of Business Card. The Ultimate Guide.
Label Design with Powerful Designs and Unique Tips.


