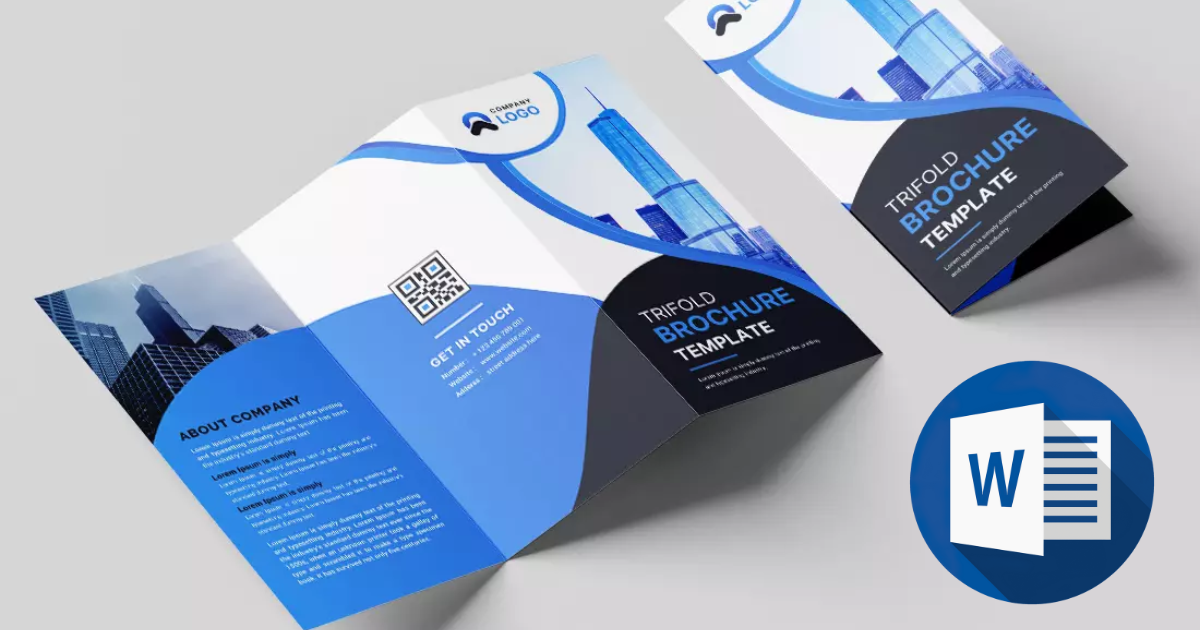
Today, we’re delving into the exciting world of brochure design using the user-friendly Microsoft Word. Whether you’re promoting a business, an event, or your creative ideas, turning a blank document into a visually appealing brochure is a breeze. Join us on this step-by-step journey, and let’s make your document pop with style!
Setting the Stage for Brochures
To kick things off, fire up Microsoft Word and select a blank document. Alternatively, you can open a new tab and opt for the blank document option. Once you’re in, head to the main menu, click on “Layout,” and under “Margins,” choose the “Narrow” option. Go for a landscape view under “Orientation” and select “Letter” in the “Size” section. Lastly, set the number of columns to three—the magic number for a well-structured brochure.

Ruler Magic
In the main menu, navigate to “View” and activate the ruler. This nifty tool will serve as your guide as you start crafting your brochure masterpiece.
Crafting Rectangles for Pages
Your brochure needs structure, and for that, we’ll create three rectangles for the front cover, second page, and back cover. Begin by creating the first page. Insert a rectangle from the “Shapes” menu, adjusting its dimensions and formatting. Copy and paste to create the other two rectangles, ensuring a harmonious color scheme. Position each rectangle in the middle for a polished look.
Bringing in Images
A picture speaks a thousand words, and your brochure deserves some visual flair. Click on “Insert,” then “Pictures.” Choose your images (linked in the description if needed) and insert them. Tweak their positions, wrap the text, and fix them in place for that professional touch.
Adding Text Boxes
No brochure is complete without information. Click on “Insert,” then “Text Box,” and choose the 12-text box option. Drag it to your desired spot, and if you want it in front of shapes, a bit of formatting is in order. Adjust font, size, and styles from the “Home” menu to make your text pop.
Expanding with Additional Pages
For a multi-page brochure, add more pages by going to the main menu, clicking on “Insert,” and selecting “Blank Page.” Repeat the process of creating rectangles, adding images, and inserting text boxes for each new page.
Save and Share Your Masterpiece
Don’t forget to save your hard work! Hit Control or Command + S, and when it’s time to share your creation, go to “File” and then “Save As.” Opt for the PDF format, which is perfect for printing. Now you’re ready to share your stunning brochure with the world. You’ve just transformed a blank document into a visual feast using Microsoft Word. Feel free to experiment and customize it further to make it uniquely yours.

Brochures are like handy little info packets that catch your eye with cool designs and give you the lowdown on stuff you’re interested in. They’re great because they’re cheap to make and easy to hand out, spreading the word about businesses or cool things to lots of people. You can get super creative with how they look, using pictures and words to tell a story. What’s awesome is that they suit everyone’s style and let folks take their time to check out what’s what. Plus, they stick around, helping people remember a brand or idea for a long time
Frequently Asked Questions (FAQs)
Can I add images to my Word brochure?
Yes, Word allows image insertion for vibrant and engaging brochures.
How can I customize layouts in Word for a unique brochure?
Word offers layout options and editing tools to personalize your brochure design.
Is it easy to add text boxes and styles in Word?
Absolutely. Word simplifies text box insertion and offers various styles for text enhancement.
Can I print my brochure directly from Word?
Yes, Word enables easy printing of brochures for immediate distribution.
Related Article
A Beginner’s Guide to Designing a Trifold Brochure. Easy Guide


