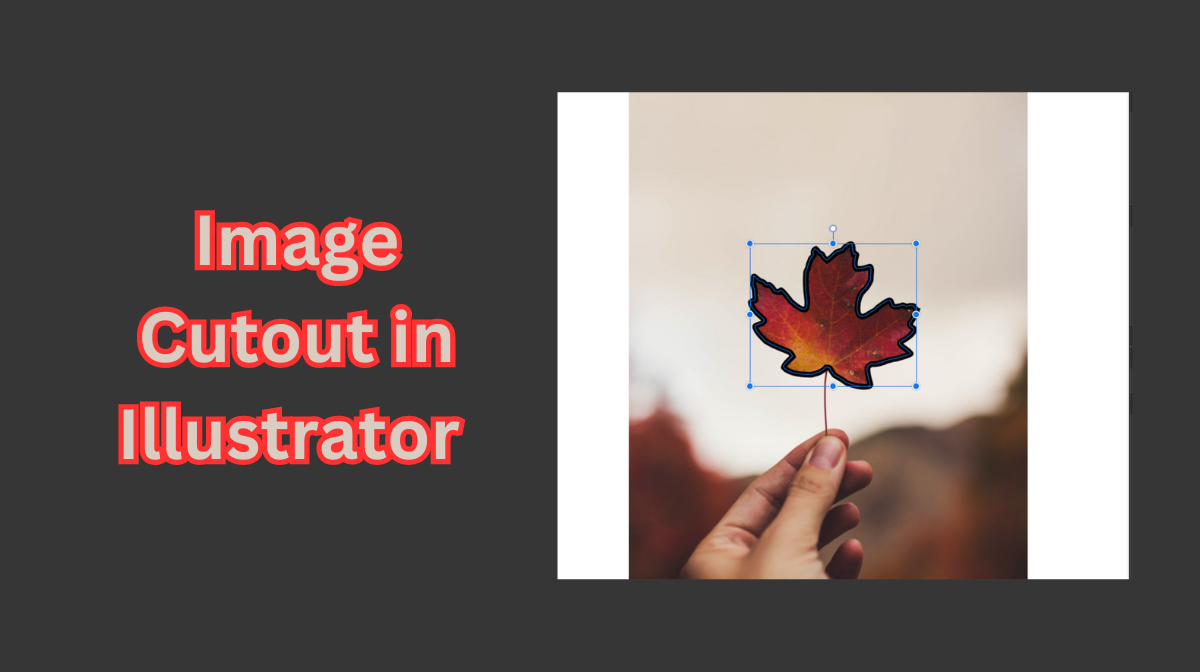
Hey there, Design Enthusiasts! This blog will let you know about the fantastic technique that combines the powers of Adobe Illustrator and Photoshop to achieve flawless cutouts. Say goodbye to tedious and imperfect cutouts; this method guarantees stunning results, even with complex subjects.
The Illustrator Attempt (and Its Limitations)
First, let’s address the elephant in the room: Illustrator alone isn’t always your best friend when it comes to intricate cutouts, especially with elements like hair or fine details. Sure, for straightforward shapes, you can manage a decent cutout, but when things get intricate, they fall short.

The Illustrator-Photoshop Duo
Fear not! Here’s where our superhero duo, Illustrator and Photoshop, swoops in to save the day. Here’s how it’s done:
Open the Image in Illustrator: Start by opening your image in Illustrator, just as you normally would.
Explore the Photoshop Icon: In the latest Illustrator version (27.9 and above), there’s a magic button – the Photoshop icon, located on the contextual taskbar. Click on it.
Save as PSD: Illustrator prompts you to save the file as a PSD. Do it and bid adieu to Illustrator for a moment.
Magic in Photoshop: Open the saved PSD file in Photoshop. Here, you have a variety of selection tools at your disposal. Use whichever you’re comfortable with to carefully select your subject.
Create a Layer Mask: Once you’ve made your selection, create a layer mask. This is where the magic happens.
Relink in Illustrator: Head back to Illustrator. This is where the trick lies. Go to Window > Links. A pop-up might appear in the top corner; click on it. Relink the PSD file here.
Optional: Link the Files: If you want changes made in Photoshop to reflect in Illustrator, ensure the ‘Link’ option is checked. If not, leave it unchecked for a static image.
Place the Image: Click ‘Place,’ ensure ‘Flatten layers to a single image’ is selected, and voila! Your perfectly cut subject is now in Illustrator, complete with its transparency intact.
Let the Creativity Flow
Now that your subject is cut out flawlessly, it’s time to unleash your creativity. Add colorful backgrounds, experiment with drop shadows, or blend them seamlessly into your designs. The possibilities are endless!
And there you have it! With the seamless collaboration of Illustrator and Photoshop, you’ve mastered the art of achieving impeccable cutouts. No more hours spent meticulously cutting out details; now you can focus on what truly matters: letting your creativity soar.
Frequently Asked Questions (FAQs)
How Can I Achieve a Seamless Cutout of Images in Illustrator and Photoshop?
Certainly! By leveraging Illustrator’s precise paths for initial selection and refining edges in Photoshop using tools like Refine Edge, you can achieve a seamless cutout, ensuring your subject blends seamlessly into any background.
Which Tools in Illustrator Help Create Precise Outlines for Cutouts?
Illustrator offers tools like Pen Tool, Curvature Tool, and Shape Builder that help create precise outlines. Additionally, you can utilize the Pathfinder panel to combine shapes and create complex selections for your cutouts.
What Are the Benefits of Using Both Illustrator and Photoshop for Cutouts?
Illustrator provides accurate path creation, while Photoshop’s advanced masking and refining tools allow for detailed edge adjustments. Combining these strengths ensures a perfect cutout, saving time and providing a seamless result, especially for complex subjects.
Can You Provide Tips for Smooth Integration Between Illustrator and Photoshop for Cutouts?
Absolutely! Ensure your files are in compatible formats. Use Smart Objects in Photoshop to retain vector quality and easily update edits made in Illustrator. Remember to save your work in a format (like PSD) that preserves layers, enabling flexible adjustments throughout your editing process.
Related Articles:


