
Hey design enthusiasts! If you’re a fan of jaw-dropping text effects and love to experiment with Photoshop, you’re in for a treat. In this blog, I’m excited to share with you some mind-blowing text effects that will take your creativity to a whole new level. Join me on this artistic journey, and I promise you won’t be disappointed. Plus, I’ve prepared a free project file, so you can follow along and recreate these effects with ease. Let’s discover the magic of text manipulation!
Steps to Make Melting Text Effect in Photoshop:
Creating an Editable Text Effect:
To kick things off, we’ll begin with a sleek A4 poster in a dark black color. Adding depth to the background, we’ll incorporate a texture sourced from Unsplash. By blending it with the poster, we’ll achieve a subtle yet captivating effect. Next, we’ll type in the desired text, choosing an eye-catching font like Noemi in bold. Here’s the exciting part: to ensure full editability, we’ll convert the text into a linked smart object. This way, we can make changes effortlessly and apply them across multiple layers.

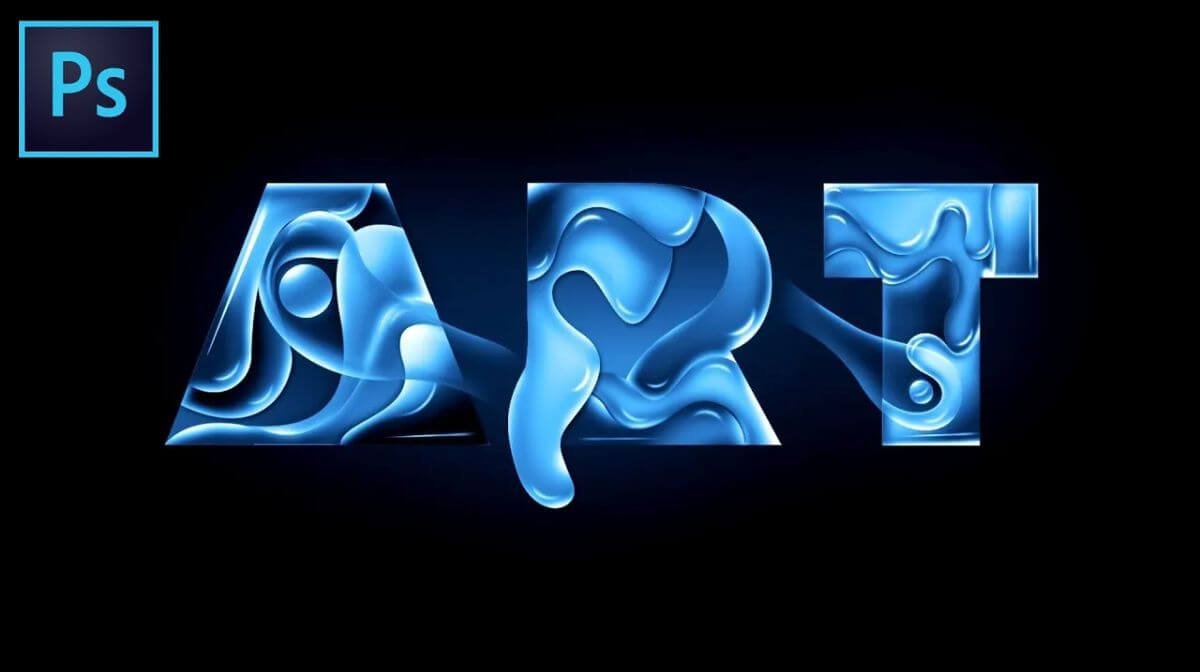
Liquefying and Blurring the Text:
Now, it’s time to make the text come to life! We’ll create multiple copies of the text layer and play around with Photoshop’s powerful liquefy tool. Carefully manipulating the text, we’ll achieve a flowing and dynamic appearance. Next, we’ll apply a unique blur effect called Field Blur. This versatile technique allows us to selectively blur certain parts of the text, adding depth and dimension to the overall design.

Unleashing the Outer Glow:
To elevate the text’s visual impact, we’ll add an outer glow to create a mesmerizing neon-like effect. By tweaking the settings, such as noise and opacity, we’ll achieve a stunning glow that complements the futuristic vibe of the design. Additionally, we’ll use an inner glow to simulate a light source emanating from within the text, adding an ethereal touch to the composition.
Doubling the Impact with Linked Smart Objects:
To intensify the visual impact, we’ll duplicate the text layers and apply slightly different colors to each. This creates a beautiful contrast between the two text layers, making the design even more captivating. Remember to link the new text layers as smart objects to maintain full editability.
Adding Texture and Depth:
To take the design to the next level, we’ll add subtle noise to one of the text layers. This imparts an authentic and gritty texture that complements the overall aesthetics. Additionally, we’ll use a paper texture to give the impression of printed text, enhancing the vintage feel of the artwork.
The Final Touch: Adjustment Layers:
To fine-tune the design, we’ll add a curve adjustment layer. This allows us to control the overall contrast and brightness, giving the text effect its final polish. With the flexibility of adjustment layers, you can experiment with various color schemes and moods to achieve your desired artistic vision.

Congratulations on mastering these mind-blowing text effects in Photoshop! You’ve unleashed the full potential of your creativity and transformed ordinary text into an extraordinary visual masterpiece. Armed with the power of linked smart objects, liquefying, blurring, and glow effects, you can now create stunning designs that leave a lasting impression. Don’t forget to explore different fonts, colors, and textures to discover unique combinations that resonate with your artistic style.
Frequently Asked Questions (FAQs)
How many effects are in Photoshop?
A user can choose from the 30 available artistic effects in Adobe Photoshop.
Where is the effects icon in Photoshop?
It is located in the layers panel to the right of the layer’s name.
What are the layer effects?
Layer effects are a collection of nondestructive, editable effects that can be applied to almost any kind of layer in Photoshop.
Related Articles:
How to Increase Brand Awareness?10 Steps Guide