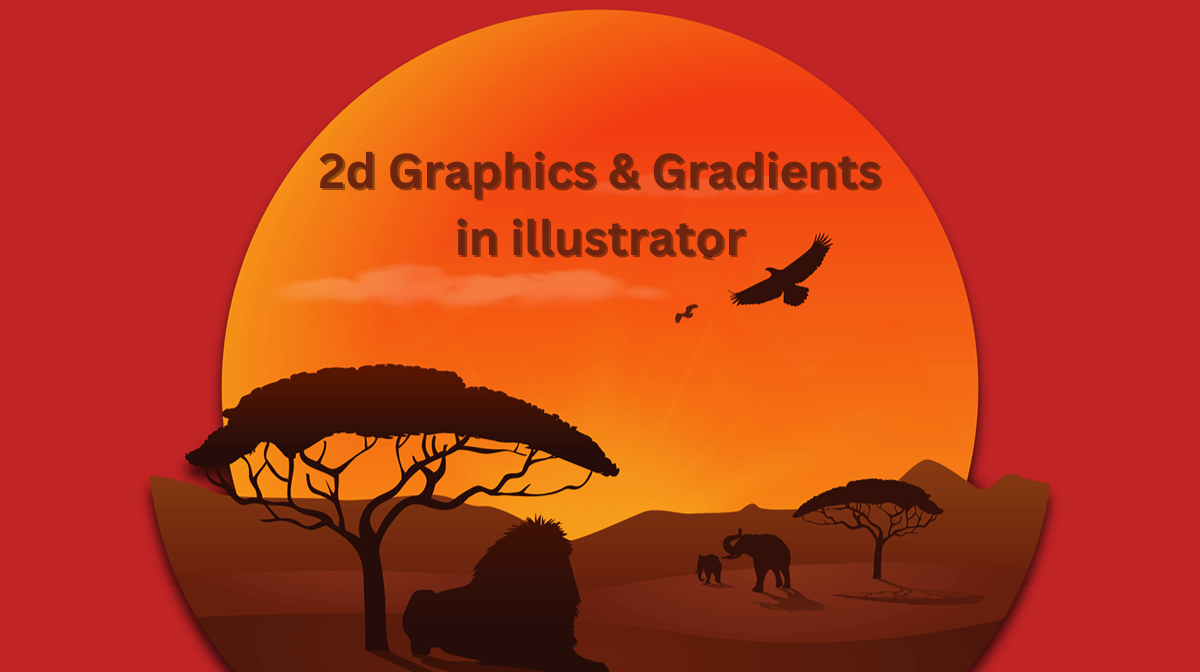
Are you captivated by graphics with gradients and textures? In this Illustrator tutorial, we’ll take you on a journey to create stunning designs step-by-step. Whether you’re a beginner or a seasoned designer, this friendly guide will help you master the art of crafting mesmerizing graphics. Let’s get started!
Setting Up the Document
Launch Illustrator and start a new document. Give it a name, and set the dimensions to 2000 pixels for both width and height. Opt for RGB color mode to ensure vibrant and captivating hues. Once you’ve made these selections, hit “Create” to proceed.
Creating the Base Circle
To kick off your design, select the Ellipse tool from the toolbar. Hold down the “Shift” key while clicking and dragging to draw a perfect circle. To add a stroke to the circle, look for the stroke icon in the toolbar and select it.

Adding the Gradient
Now comes the fun part – applying a gradient to your circle! Open the Swatches panel by going to the Window menu at the top and selecting “Swatches.” Experiment with different gradients, or choose a default black gradient for now. To fine-tune the angle of the gradient, dock the Gradient panel to make adjustments easier.

Making Colors Global
One handy trick to make your design process more efficient is to make colors global. Double-click on any color swatch in the Swatches panel and check the “Global” option. This allows you to change colors later on without much hassle.
Blending Shapes
To add depth and complexity to your design, create another circle using the Ellipse tool. Swap the fill and stroke, and align this circle to the center. Now, select both circles and go to Object > Blend > Make. This will create a beautiful blend between the two shapes.
Fixing the Spine
Sometimes, the blend spine might not look as expected. To fix this, zoom in on the top anchor point of the blend. Use the Scissors tool to make a careful cut at that point. Remove any stray anchor points and adjust as needed to achieve the desired look.
Refining the Gradient
To ensure a seamless gradient, double-click on the shape to enter its isolation mode. Then, select the original circle at the top. Adjust the angle in the gradient panel until you achieve the desired effect.
Adding a Zigzag Effect
Let’s give our design some unique flair. Go to Effect > Distort & Transform > Zigzag. Play around with the sliders until you achieve a captivating zigzag effect.

Masking the Edge
To eliminate any jagged edges, create a new ellipse with the Ellipse tool. Swap the fill and stroke, and pick any random color. Increase the stroke weight until it covers everything except the jagged edge. Go to Object > Expand and click “OK.” Then, select everything, go to Object > Clipping Mask > Make. This will clean up your design and give it a polished look.
Applying a Drop Shadow in Graphic Image
Now, let’s add depth and dimension to the design. Select the main swirl shape, go to Effect > Stylize > Drop Shadow. Play around with the values until you achieve a subtle drop shadow effect that enhances your design.
Experimenting with Global Swatches
With global swatches set up earlier, you can easily experiment with various color combinations. Double-click on any swatch, adjust the values, and watch as the changes apply throughout the entire document. This feature saves time and makes it effortless to find the perfect color scheme for your graphic.
You’ve successfully learned how to create captivating graphics with gradients and textures using Illustrator. From setting up the document to applying intricate effects, you now have the knowledge to craft your own mesmerizing designs. So go ahead and unleash your creativity to create stunning artworks that will leave everyone in awe! Have fun designing!
Frequently Asked Questions (FAQs)
Related Articles:
Mastering the Art of Pen Tool in Adobe Illustrator!


