Hey Creative Fam! Today, we’re diving deep into the fascinating world of vector brushes in Adobe Illustrator, sprinkled with a hint of Photoshop magic! Buckle up as we explore the step-by-step process of creating your very own custom vector brushes that will add an artistic flair to your designs.
Crafting Your Brush in Photoshop
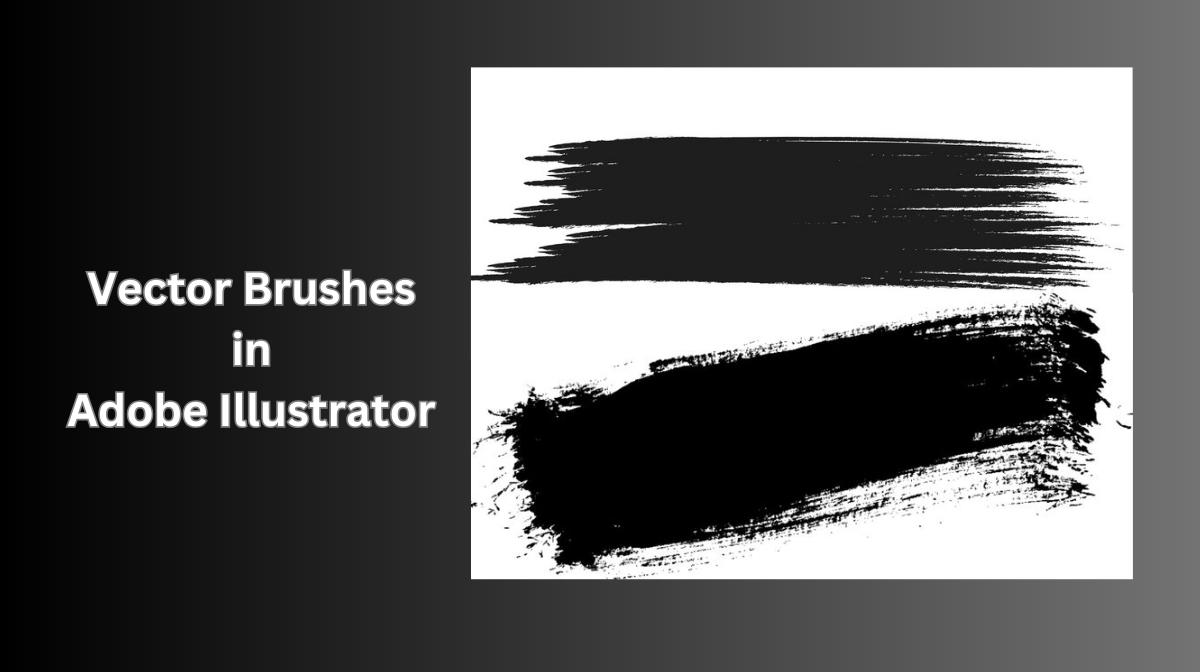
We kick off our creative journey in Photoshop, where we craft the foundation of our vector brush. Using the generative features, create a black brush stroke with a subtle texture. Photoshop works its magic, providing you with a variety of options. Choose a relatively horizontal stroke, ensuring it aligns with your vision.
Feeling a bit ambitious? If you desire a perfectly straight brush, transform your creation into a smart object. Rasterize specific parts to achieve the desired straightness while maintaining that charming, handcrafted texture.

Transitioning to Illustrator
Now, let’s bring our masterpiece into Illustrator. Import your creation by going to File > Place. Scale it up to fit your canvas, and voila, your texture is in place. Don’t worry if it appears pixelated; we’ll soon convert it into a scalable vector.
Converting to a Scalable Vector
With your texture selected, navigate to the Properties panel and click on Image Trace. Adjust the settings to capture the gritty detail, ignoring color to focus solely on texture. Fine-tune the corners and expand your vector, transforming it into a regular shape in Illustrator.
Creating Your Custom Vector Brush
This is where the magic truly happens! Open the Brushes panel (Window > Brushes) and drag your vector graphic inside. Choose “Art Brush” and select “Stretch to Fit Stroke Length” to retain the texture’s integrity. Define your brush’s boundaries using guides, ensuring the texture fits snugly within.
For color versatility, set the method to “Tints.” And voila, your custom vector brush is ready for action!

Unleashing Your Creativity
Now comes the most exciting part—let your creativity run wild! Grab the Brush tool, select your custom brush, and start doodling, drawing, or crafting anything your creative heart desires. Watch as your vector paths transform into beautifully textured, handcrafted wonders.
Remember, this isn’t just a tool; it’s your artistic signature. Experiment with different strokes, play with colors, and enjoy the freedom of expression!
There you have it, fellow artists and designers! You’ve unlocked the secrets to creating custom vector brushes that add depth, texture, and a touch of your unique style to every project. So go ahead, let your creativity soar, and paint the digital canvas with your imagination.
Frequently Asked Questions (FAQs)
How Do I Create Custom Vector Brushes in Adobe Illustrator?
Absolutely! In Illustrator, you can create custom brushes using the Brush panel. Start by designing the shape you want to use as a brush, then define it as a new brush in the panel to begin your Illustrator adventure.
What Are the Advantages of Using Custom Vector Brushes?
Custom vector brushes can add uniqueness and creativity to your artwork. They enable you to achieve distinctive textures, patterns, and strokes, making your illustrations and designs stand out, while also saving time on repetitive tasks.
How Can I Apply Custom Vector Brushes to Artwork?
To apply custom vector brushes, select the brush tool, choose your custom brush from the brush library, and simply draw or paint over your artwork. You can adjust the stroke size, color, and other attributes in the Stroke panel for precise control.
Can I Share or Export Custom Vector Brushes for Collaboration?
Yes, you can export your custom brushes as brush libraries (.ai or .ait) to share with others. They can be easily imported into Illustrator for collaborative projects, allowing consistency in design and shared resources.
Related Articles:
How to Design Playful Icons in Adobe Illustrator: Easy Guide


