

Hey there, fellow artists! Get ready to dive into the world of creativity as we unveil the secrets to crafting a mesmerizing fluid color abstract background using Adobe Illustrator. Don’t worry if you’re new to this, we’ll take it step by step, and soon you’ll be amazed at what you can create! So, let’s fire up Illustrator and get started on this artistic journey!
Setting Up
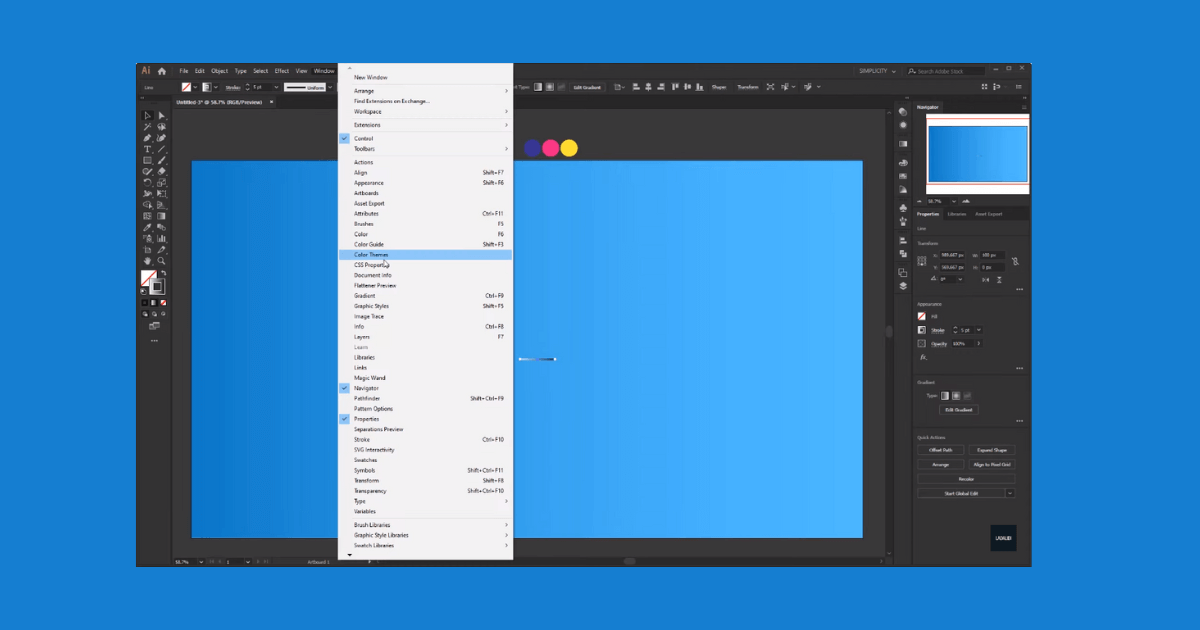
First things first, open Adobe Illustrator and create a new document with RGB color mode. We need this setup to ensure our colors shine brightly on the digital canvas.
Creating the Background
Now, let’s set the stage by creating a beautiful gradient-filled background. Select the Rectangle tool and draw a rectangle that fits the size of your artboard. Once that’s done, we’ll add a delightful gradient to it. Look for the color palette we provided or find the color codes in the description. Armed with the Eyedropper tool, simply click and apply the gradient to the rectangle.
Designing the Fluid Color
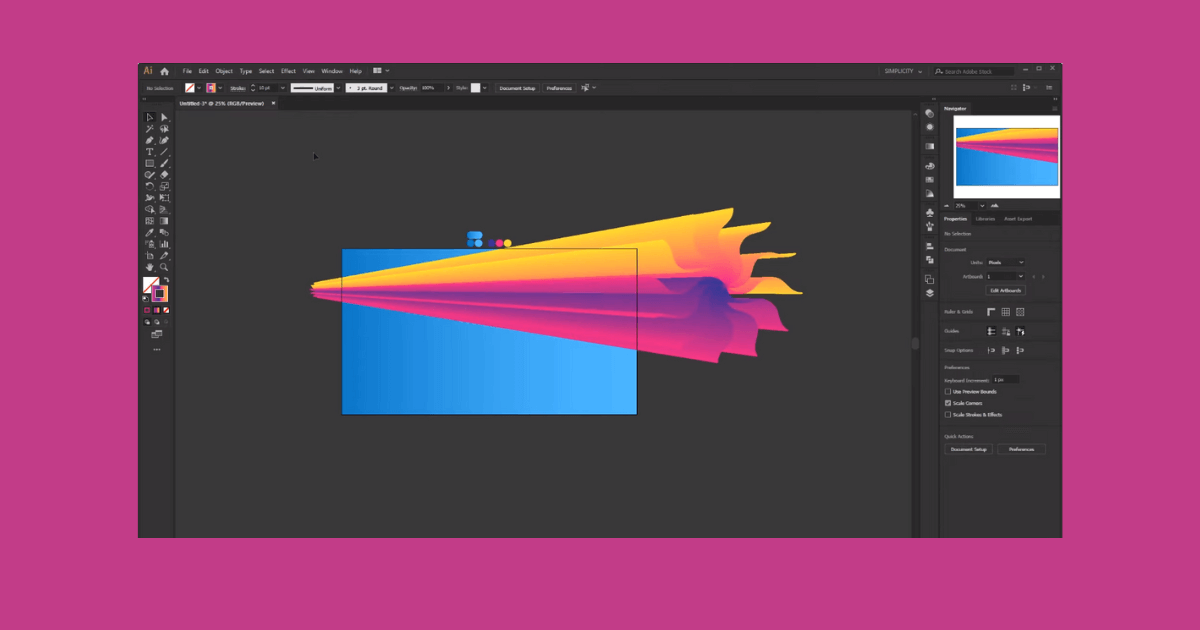
Get ready to add the star of the show – the fluid color! For this, we’ll use the Line Segment tool. Click anywhere on the artboard, and voilà, a straight line appears! Let’s make it more captivating by adjusting the settings. Set the length to 100 pixels, and in the Stroke panel, make the weight 5 points with a round cap. Now, here comes the fun part – applying a three-tone gradient color to the stroke. Get ready to witness the magic!
Customizing the Gradient
We all love gradients, but let’s make ours stand out! By default, the gradient panel offers black and white, but we want to spice things up with three fabulous colors. Click on the gradient annotator, and let the creativity flow! Adjust the white, black, and two new color stops to achieve that perfect blend.
Adding Wavy Effects
Now, let’s give our fluid color a mesmerizing twist! Head over to the Effects menu, find Distort & Transform, and choose Zigzag. This is where the real magic happens. Set the desired size, ridges, and smooth points to create captivating waves. Trust us; you won’t be able to look away!
Duplication and Rotation
We’re on a roll! Let’s make our fluid color even more fascinating by duplicating and rotating it. With the Transform effect, change the angle to your liking and witness the captivating patterns emerge.
Resizing the Lines
To add a touch of uniqueness, let’s resize our fluid color. Now, hold on – we won’t just resize it directly because, well, it’s not as straightforward. Instead, we’ll use the Properties panel to adjust the width. Keeping the zigzag effect intact ensures our fluid color remains cohesive and captivating.
Blending the Lines
Time to blend it all together! With the Blend tool, create a seamless blend between the two lines. Adjust the spacing to achieve perfect harmony. Our fluid color is evolving into a stunning masterpiece!
Creating a Wavy Path
To add that wow factor, let’s create a wavy path using the Curve tool. You can also experiment with other shapes and patterns. Now, select both the path and the blended fluid color, and under Object > Blend, choose Replace Spine. Watch the magic as the fluid color dances along the wavy path!
Final Touches
Last but not least, let’s add that artistic twist to our creation. Right-click on the fluid color and select Isolate Selected Group. Then, bring the first object to the front. pure magic!
you’ve just mastered the art of creating a mesmerizing fluid color abstract background in Adobe Illustrator! Your creative journey has only just begun, so don’t be afraid to experiment with different shapes, colors, and effects. Let your imagination soar and share your stunning artwork with the world. Remember, art has no boundaries, so keep exploring and enjoying the process. If you have any questions or want to share your creations, feel free to drop a comment below.
Frequently Asked Questions (FAQs)
Where is the color halftone in Illustrator?
Go to Effect > Pixelate > Color Halftone.
What is Colour balance in design?
Select the path using the Selection tool. Select the Smooth tool. Drag over the path multiple times to smooth the edges and curves.
Related Articles: