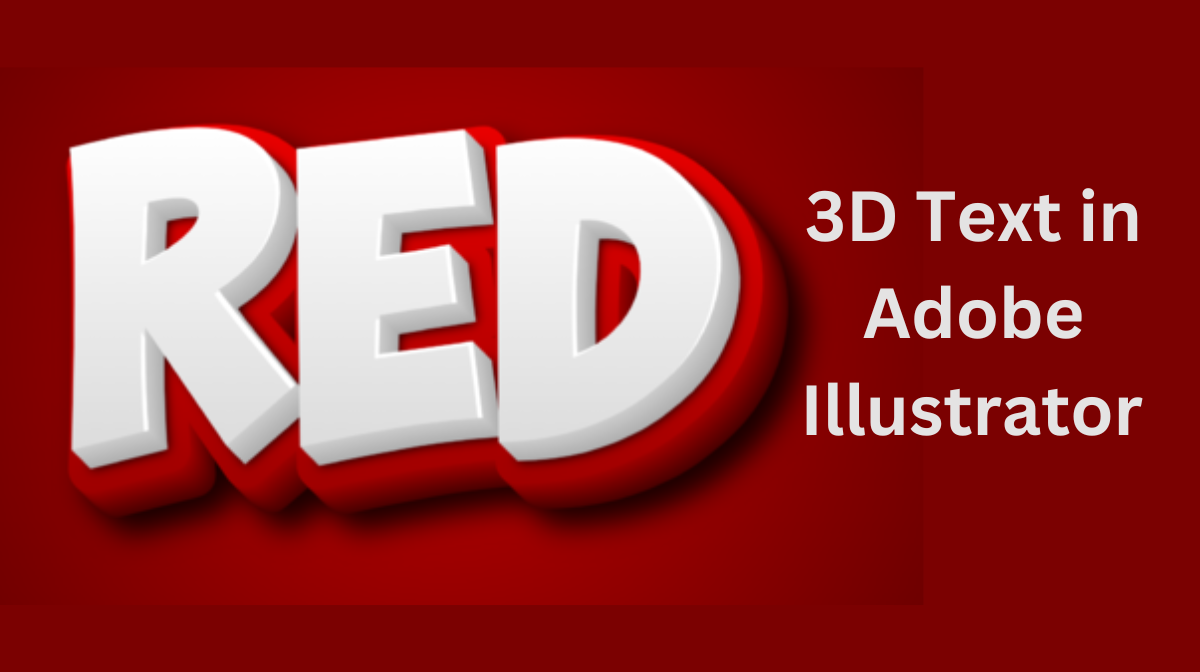
Welcome to this step-by-step tutorial on how to craft an eye-catching and fully editable isometric 3D text effect in Adobe Illustrator. This dynamic text style will add depth and dimension to your design, making it pop like never before. Let’s dive right in!
Setting Up Your Workspace
Begin by opening Adobe Illustrator and creating a new document with dimensions of 1920 by 1080 pixels. Ensure you are using the RGB color mode. This site provides a suitable canvas for our project.
Preparing Your Color Palette
Before we start, let’s streamline our workflow by adding a set of colors to the Swatches panel. This eliminates the need to recreate colors later. You can either manually add these colors or download the color palette provided in the tutorial description. To add colors manually:
a. Select the five colors you want to use.
b. Open the Swatches panel.
c. Click the “New Color Group” button and name it, for example, “Isometric Colors.”
Now you have quick access to your chosen colors.
Choosing Your Font
For this tutorial, we’re using the Montserrat font with an extra bold style. Increase the font size to 250 points to match the artboard’s size. Feel free to experiment with different fonts to achieve your desired look.
Adjusting Text Properties
Open the Character panel and set the tracking to 100. This spacing ensures your text is evenly distributed, maintaining legibility in our isometric design.
Creating the 3D Isometric Text
Let’s make your text pop with a 3D isometric effect:
a. Open the Appearance panel (Window > Appearance).
b. Double-click the “Character” layer.
c. Select the “Fill” layer within.
d. Set the color to “None” to make the text transparent.
e. Click the top layer to exit the Character panel.
Your text is now colorless and ready for the 3D transformation.
Applying 3D Isometric Effect
a. Add a new “Fill” layer below the existing one.
b. Select the new “Fill” layer.
c. Set the fill color to your preferred color from the Swatches panel.
d. Click the “Add New Effect” button in the Appearance panel.
e. Choose “3D” > “Classic” > “Extrude & Bevel” > “Isometric Top.”
f. Adjust the depth as desired (e.g., 40 points) and click “OK.”
Your text now has a fantastic isometric 3D look!
Adding a Light Reflection
To enhance realism, let’s add a light reflection:
a. Add a new “Fill” layer above the existing ones.
b. Select the new “Fill” layer.
c. Set the fill color to the lightest color from your Swatches.
d. Click “Add New Effect” > “3D” > “Classic” > “Rotate.”
e. Choose “Isometric Top” and click “OK.”
f. Apply a transform effect (Effect > Distort & Transform > Transform) to reposition this layer.
Creating a Shadow
Now, let’s add a shadow for depth:
a. Create a new layer below all existing layers.
b. Select the original text layer and give it a black fill color.
c. Add an offset path (Effect > Path > Offset Path) to create a shadow shape.
d. Apply a “3D” > “Classic” > “Rotate” effect with the “Isometric Top” position.
e. Add a transform effect to adjust its position.
f. Finally, apply a Gaussian Blur effect to soften the shadow, and reduce opacity to around 80%.
Your isometric 3D text now has a realistic shadow.
Crafting the Background
Let’s complete our design by creating an isometric background:
a. Create a trapezium shape using the Pen tool. Make the diagonal side parallel to your isometric text.
b. Apply a gradient color to the trapezium using the Gradient panel.
c. Use the Gradient tool to adjust the gradient direction.
Final Touches
To finish, add a rectangle behind your text and send it to the back. This will ensure that your isometric text stands out against the background.
Congratulations! You’ve created a stunning editable isometric 3D text effect in Adobe Illustrator. Feel free to experiment with different fonts, colors, and backgrounds to achieve the desired look for your projects. Now you have a valuable skill to create eye-catching typography that will captivate your audience. Happy designing!
Frequently Asked Questions (FAQs)
What tools do I need to create a 3D text effect in Adobe Illustrator?
To create a 3D text effect, you’ll primarily use the “Type Tool” for creating text, the “Selection Tool” for moving and resizing, and the “Extrude & Bevel” effect for the 3D effect itself.
Can I apply 3D effects to any font in Illustrator?
Yes, you can apply 3D effects to almost any font in Illustrator. However, some complex or decorative fonts may not yield the best results, so it’s often recommended to use simpler, bold fonts for clearer 3D effects.
How do I adjust the depth and angle of the 3D effect for my text?
You can adjust the depth and angle of the 3D effect by selecting your text, going to the “Effect” menu, choosing “3D” and then “Extrude & Bevel.” In the dialog box that appears, you can fine-tune the settings, including depth and rotation.
Can I customize the colors and lighting of my 3D text in Illustrator?
Yes, you can customize the colors and lighting of your 3D text. Illustrator allows you to apply gradients, and textures, and even adjust the lighting angle to create different effects. Experiment with the “Map Art” and “Lighting” options within the “Extrude & Bevel” settings for more control.
Related Articles:


