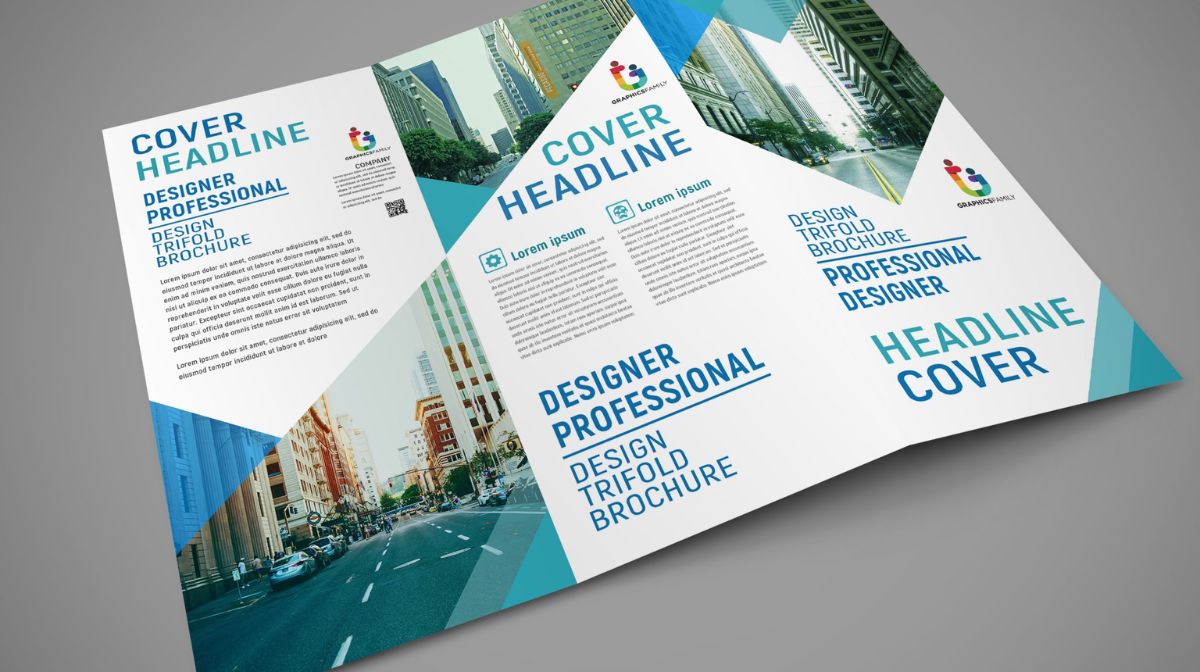
Embarking on the journey of design can be both thrilling and slightly overwhelming, especially if you’re just starting out. In this blog post, we’ll break down the process of creating a half-by-11 trifold brochure, demystifying concepts like page setup, and typography, and preparing your file for printing.
Page Setup:
Let’s kick things off by setting up our canvas. Open your design software and choose inches as the unit. Set the width to 11 inches and the height to 8 1/2 inches. For our trifold brochure, we’ll opt for three columns with a half-inch gutter width and 1/4-inch margins. The bleed is set to 8 inches, and I’ll explain why this matters shortly.
Understanding the Setup:
Now, let’s dissect what you see on your screen. The three columns are created to keep content spaced evenly, especially after the document is folded. The half-inch gutter between columns ensures consistent spacing, and the 8-inch bleed marks allow for professional printing with imagery extending to the edges.
Visualizing Margins and Bleeds:
The quarter-inch margin is a safe zone for most printers, ensuring content won’t get cut off. If you’re printing in-house, sticking to this margin is sufficient. However, for professional printing, the bleed lets you extend imagery to the edge for a sleek look, albeit a bit pricier.
Pro Tip: Use a 1/4-inch box as a guide for spacing between elements, ensuring a cohesive and balanced design. Just remember to delete it or exclude it when exporting your final document.
Designing with Purpose on trifold brochure:
Now, let’s explore a fictional drone business brochure to illustrate how imagery, typography, and icons can work cohesively. A full-bleed design means colors and graphics extend to the edges, offering a dynamic and visually engaging look.
Typography and Consistency:
Consistent typography is key. Have designated sizes for titles, subheads, and body copy throughout the document. This consistency extends to imagery and graphics, providing a polished and professional appearance.

Panel Interaction:
Consider how panels interact, not only on the inside but also as the brochure is opened. Ensure information flows logically between panels for a seamless reader experience.
Exporting for Print:
When you’re ready to print, ensure that all extended imagery touches the bleed marks. Go to File > Export, choose your settings (300 PPI is plenty), and include crop marks and bleed settings. This safeguards against any slight printer misalignments.
Preview Your Export:
Before sending it off, preview your exported document. Check for color bars, registration marks, and document information. This step helps your printer align both sides accurately in case of duplex printing.
Designing a trifold brochure involves a mix of creativity and technical know-how. By understanding page setup, typography, and printing requirements, you’ll be well on your way to creating stunning and professional-looking brochures. Happy designing!
Frequently Asked Questions (FAQs)
How do I start designing a trifold brochure as a beginner?
Get step-by-step guidance on the design process, from planning content placement to choosing colors and fonts for an impactful layout.
What are the standard dimensions for a trifold brochure?
Learn the recommended dimensions and layout specifications to ensure your brochure fits common printing standards and looks professional.
How can I optimize content organization in a trifold brochure?
Explore techniques for organizing information effectively, including the use of grids, hierarchy, and engaging visuals to create a balanced and readable design.
Are there specific file formats for printing a trifold brochure?
Understand the preferred file formats for printing, ensure your design is ready for professional reproduction, and learn about resolution requirements for high-quality results.
Related Articles:
Designing a Dark-themed Poster with Photoshop. Easy Guide


