


Converting the Text to a Smart Object
Right-click on the text layer you want to apply the neon effect to and choose “Convert to Smart Object.” This step allows for non-destructive editing and flexibility in the later stages of the process.
Applying Gaussian Blur
Navigate to the “Filter” menu and select “Blur.” From the options, choose “Gaussian Blur.” Adjust the radius value according to your document size, starting with a low value like 1 pixel. The goal is to create a subtle blur effect.
Duplicating the Smart Object Layer
Duplicate the smart object layer by right-clicking on the layer and selecting “Duplicate Layer.” This duplicated layer will serve as the base for our neon glow effect.
Increasing the Blur Effect
Double-click on the duplicated layer’s Gaussian Blur filter and increase the radius value to create a more pronounced blur effect. Experiment with different values, gradually increasing the radius.
Repeating the Duplication and Blur Process
Continue duplicating the layer and increasing the blur radius to add depth and intensity to the neon glow effect. Repeat this step a few more times, adjusting the blur radius with each duplication.
Adding the Glow Effect
Select the topmost smart object layer and add a new “Solid Color” adjustment layer above it. Set the color to black. This adjustment layer will help create a glowing effect.
Creating a Clipping Mask
To apply the adjustment layer only to the layer below it, create a clipping mask. Hover between the adjustment layer and the smart object layer, then hold the Alt (Option on Mac) key and click when the icon changes to create a clipping mask.
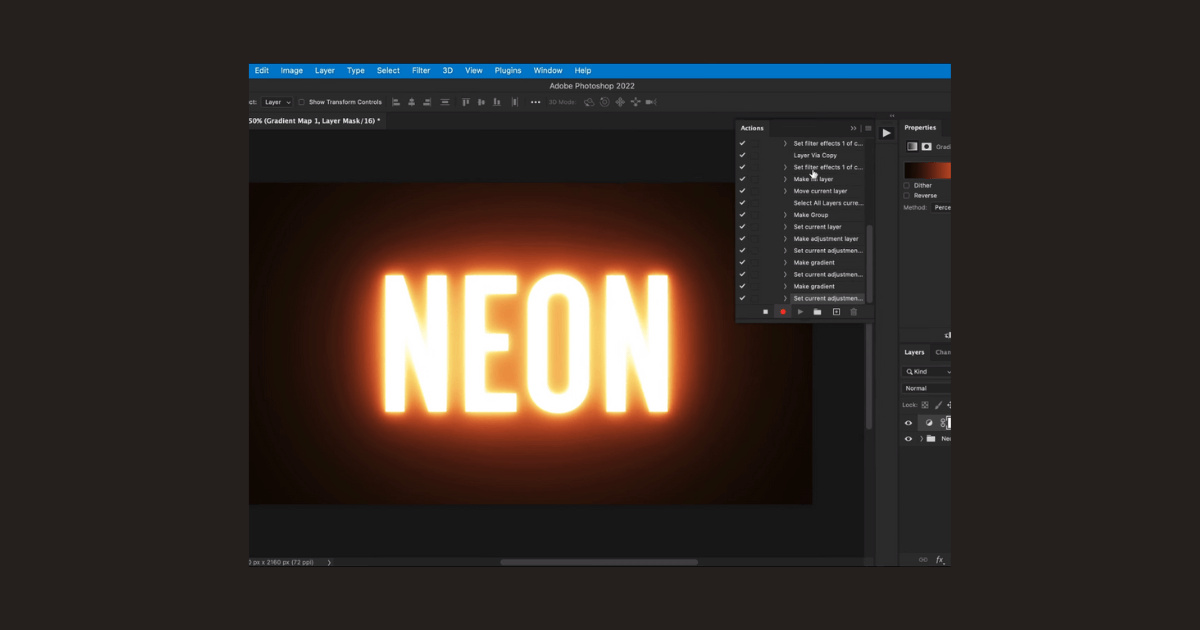
Adjusting the Gradient Colors
To achieve the desired neon glow effect, double-click on the adjustment layer’s thumbnail. This will open the Color Picker. Tweak the colors of the gradient by adjusting the inner swatches. Experiment with different colors to create a vibrant and eye-catching effect.
Finalizing the Glow Effect
Once you’re satisfied with the gradient colors, click “OK” to apply the changes. This completes the creation of the neon glow effect.
By following these step-by-step instructions, you can easily create a realistic neon glow effect in Photoshop. The technique involves converting the text to a smart object, applying Gaussian blur, duplicating layers, adjusting the glow effect, and fine-tuning the gradient colors. Remember to experiment with different values and color combinations to achieve the desired result. With this knowledge, you can add a touch of vibrant neon glow to your designs, creating captivating visuals that are sure to impress.